


Chroma Polaris Membrane Panel Replacement
By Paul DeRocco [300001++] pderocco@ix.netcom.com
©2012 Paul D. DeRocco
All rights reserved
Reproduced with permission
This describes the replacement of the Chroma Polaris membrane switch assemblies. The process is not terribly difficult, but great care should be taken, because the adhesives are quite sticky, and if the panels are accidentally misaligned, it is unlikely that they can be lifted and realigned without damaging them. We cannot be responsible for your installation errors, so get it right the first time.
See also Syntegrator's Chroma Polaris Returns! videos on YouTube.
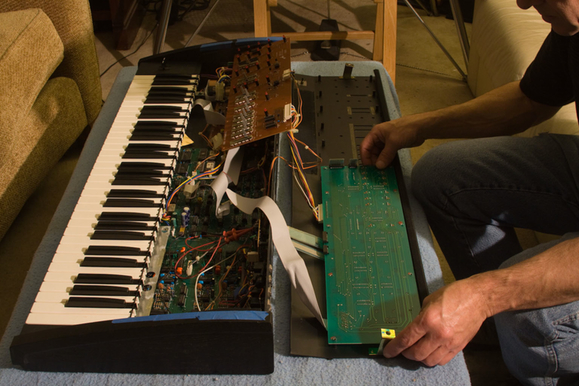
You will need enough space to lay the Polaris out, on a sturdy table or bench surface. For these photographs, we used a coffee table protected by an old heavy blanket. You will also need good light, and for cleaning the old adhesive residue, good ventilation. You will also need a few tools and materials:
1. Equipment and materials needed
- A medium sized Phillips screwdriver for removing the Polaris panel and the circuit boards.
- A large flat screwdriver for removing the two captive bolts that hold the panel down from underneath.
- Some small needlenose pliers.
- Perhaps some pointy tweezers. You may be able to do without.
- A 9/32” nutdriver for removing the nut that holds the ground lead to the panel. A pair of pliers can be used in a pinch.
- A small brush (perhaps a toothbrush) for cleaning out the holes and slots in the panel. A Q-tip would probably work fine, too.
- Some xylene based solvent for cleaning the silicone adhesive residue off the panel. We’ve successfully used Xylol and Goof-Off.
- Some paper towels.
- Some masking tape, preferably the blue temporary kind. You should be able to reuse the pieces of masking tape that were used to hold the panels to the hardboard packing material.
- A small container to keep the screws and knobs in, so they don’t get lost.
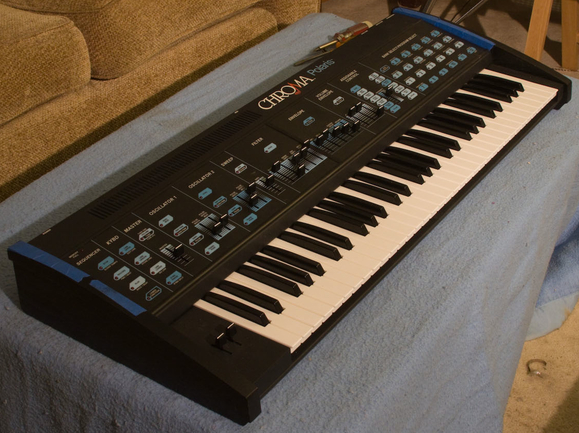
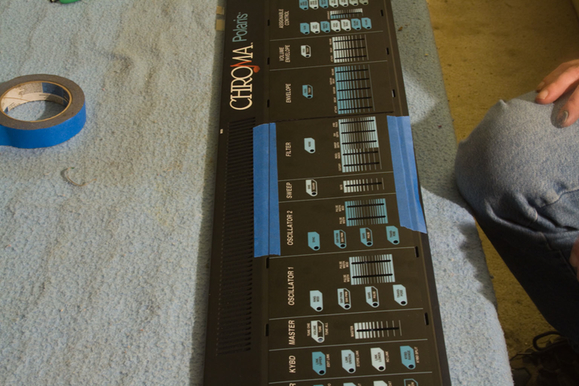
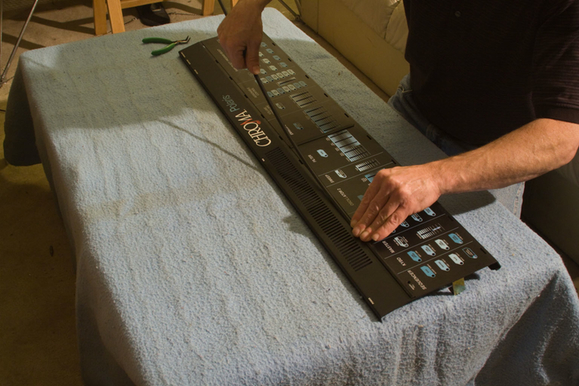
2. Lay out the Polaris on the work surface
Don’t plug it in.
3. Remove all the slider knobs
These just pull off.

4. Loosen the panel hold-down bolts
These are the two large flat-head bolts on the bottom of the instrument, one at each end. They need only be loosened until they disengage from the threaded bracket inside; they don’t need to be removed completely.

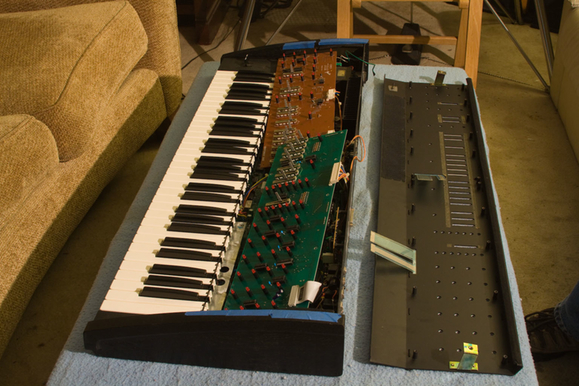
5. Unscrew the panel along its back edge, and lay the panel out.

It is not necessary to unplug any of the internal cables.

6. Unscrew the panel boards
A couple of the screws on the left panel board hold down clips that hold wires together. These screws are likely to be longer than the rest, so remember which ones they are.


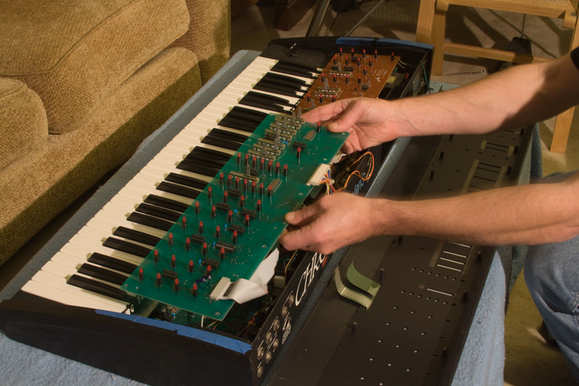
7. Remove the left panel board
Lay it carefully on top of the rest of the Polaris. (This is why you don’t want the unit plugged in.)

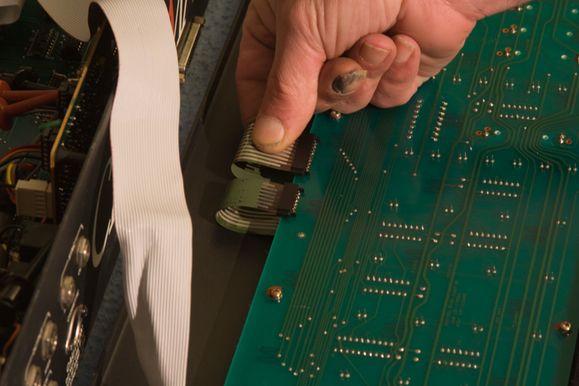
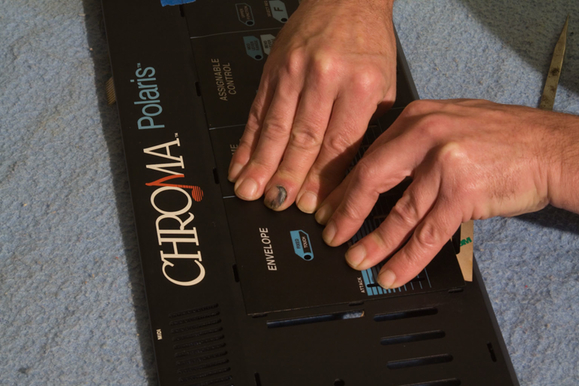
8. Unplug the membrane panel tails
Pull these out by hand. If they break off, which is likely, it may be necessary to pull a fragment out of the connector, which you can do with the needlenose pliers, or with tweezers.
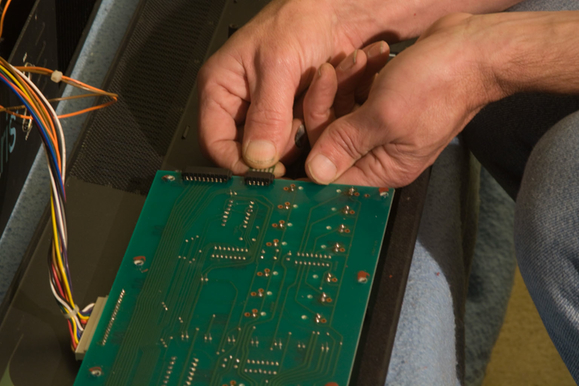
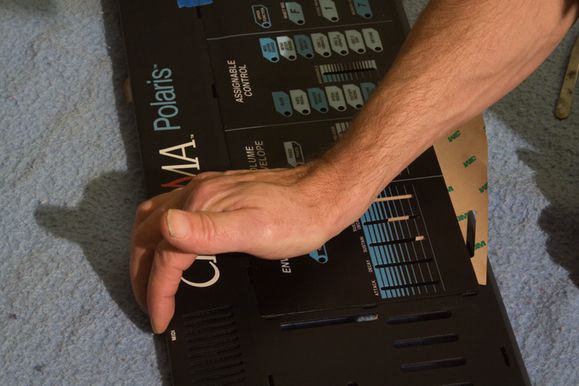
9. Remove the right panel board
Lay it carefully on top of the rest of the Polaris.
10. Disconnect the ground wire
Undo the nut holding the ground wire to the panel. At this point, the panel is now free. If you wish, you can move the rest of the Polaris somewhere else, since you’ll only be working on the panel.
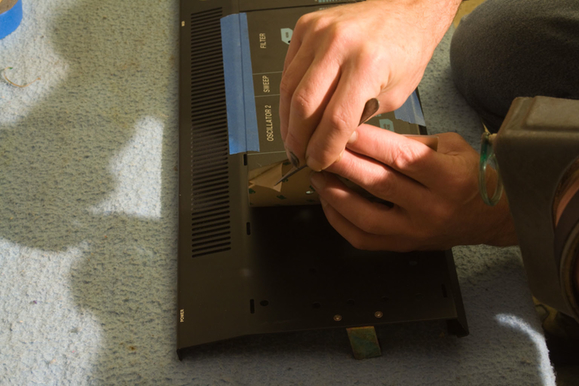
11. Remove the plastic molding strips
Note that the molding snaps into place through slots in the panel. If you merely try to pull the strips off, you’ll likely break the bifurcated tongues that snap into the slots. The correct technique is to turn the panel over, gently pull the strip away from the panel with one hand, and pinch the two halves of the tongues together with pliers until they fit through the hole.
You can see that we used some angled needlenose pliers, but the job can be done with straight ones, albeit with a little more difficulty.

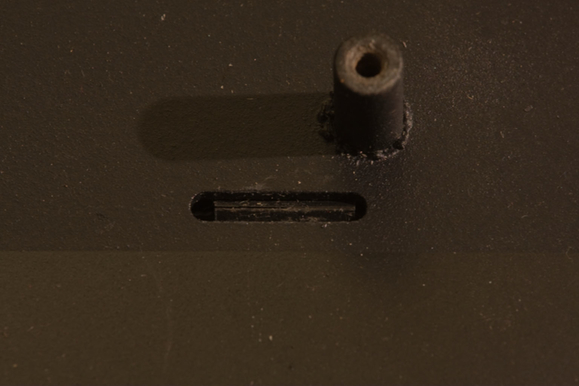

Once the molding has been removed, turn the panel face up, and note how the edges of the panel line up with the molding slots.
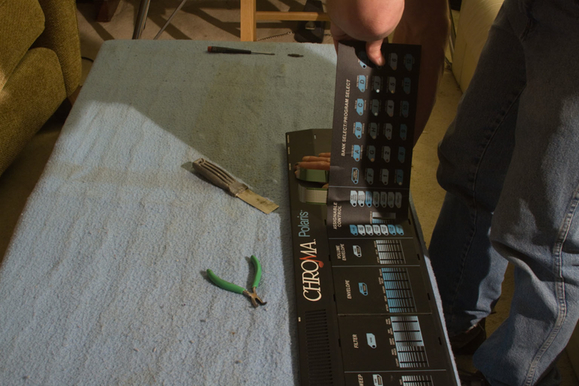
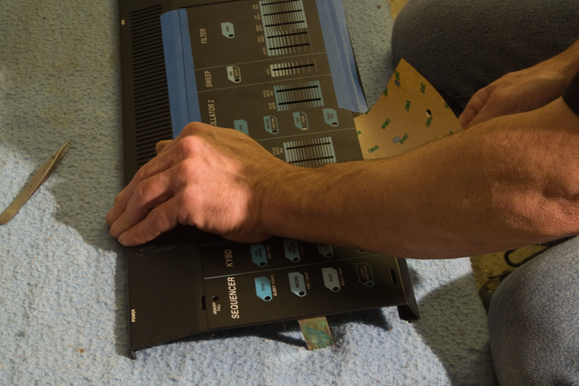
12. Pry up the corner of one of the membrane panels
You can use the flat screwdriver, or the needlenose pliers, or anything else handy. We used a putty knife.


Grab the panel with the pliers, and pull like hell until it comes off.


You can now break out the Champagne, and celebrate as you throw the old panels away!
13. Clean the panel
There will almost certainly be a little residue of the silicone adhesive on the panel. Wet some paper toweling with the Xylol, and wipe the metal until it is clean. (In a pinch, you can try alcohol, but it only softens the adhesive a little, so you’ll spend a long time rubbing. Avoid solvents that might attack the paint.)

You should also try to clean any adhesive snot-balls out of the LED and slider holes with the small brush.

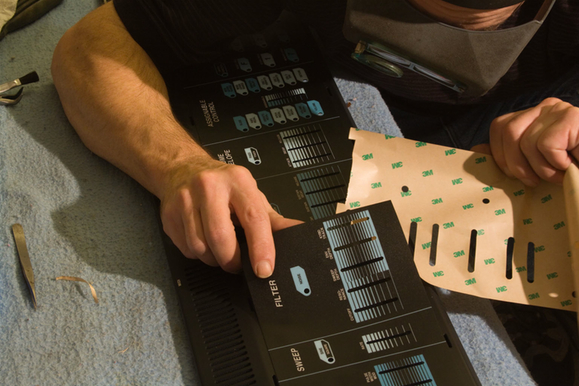
14. Insert the right membrane panel
Slide the tails through the slots.

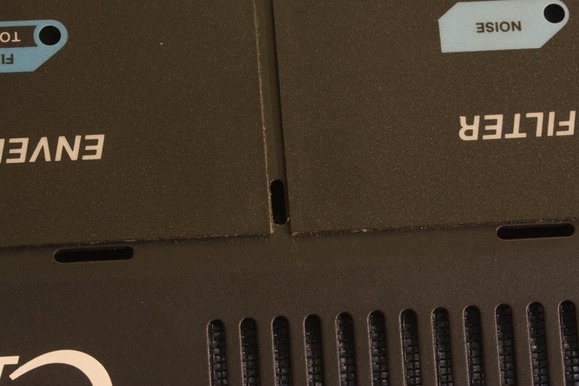
Carefully align the membrane panel so that there is equal clearance all around between the edge and the molding slots.

15. Tape the right end of the right membrane panel down
Use two strips of masking tape to hold down the right end of the membrane panel, and keep it in alignment. Make sure the tape is very secure, so that the membrane panel can’t move at all.

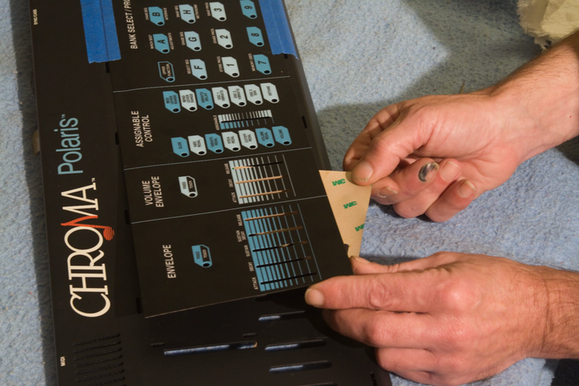
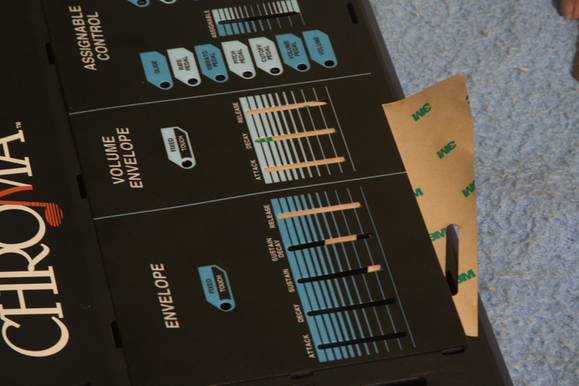
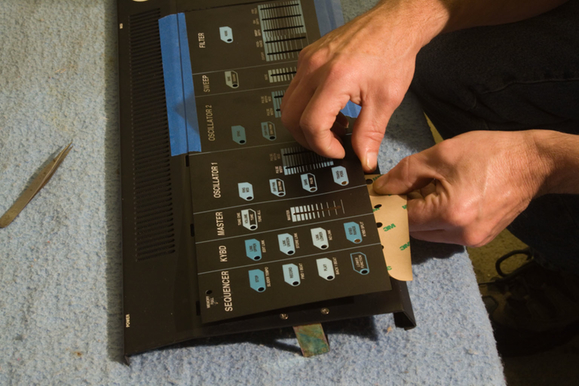
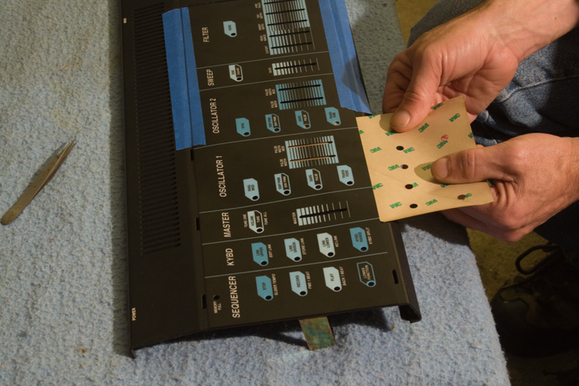
16. Stick the left end of the membrane panel down
Lift the left end of the membrane panel (trying not to flex it more than necessary) and peel back the corner of the backing paper.

Pull it so that it folds at a 45-degree angle, so that the end can be drawn out along the bottom edge of the membrane panel. Drawing it out the top edge will not work, because the tails will block your progress.
This is where you must be careful. Once the end of the backing paper is sticking out the bottom edge, lay the membrane panel down and stick it to the metal panel. Do this slowly and watch carefully that it remains properly aligned relative to the molding slots. Apply pressure to the panel to stick it firmly in place, and work toward the corner away from the folded backing paper, to avoid capturing any air pockets between the membrane panel and the metal panel.

17. Stick the rest of the membrane panel down
Carefully pull the backing paper out until it runs into the masking tape.

Apply pressure progressively following the fold in the backing paper, to avoid capturing air pockets.
Remove the masking tape.

Check the alignment with the molding slots.

Pull the rest of the paper backing out.

It’s possible that at some point you will hear the paper begin to tear. If this happens, it will be necessary to lift the unstuck end of the panel up a little, and reach under with tweezers or pliers (or your fingernail) to peel off the bit of paper that has separated from the rest of the sheet.
Press the right end of the membrane panel into place.

18. Repeat for the left membrane panel
Begin by inserting the tails through their slot, align the panel relative to the molding slots, and tape the right end down with masking tape. Then proceed in the same manner as for the right membrane panel.


When you remove the rest of the backing paper, the tails will pop out of the slot. Make sure you reinsert them before you begin to stick down the right end of the membrane panel.

Now step back and admire your work.
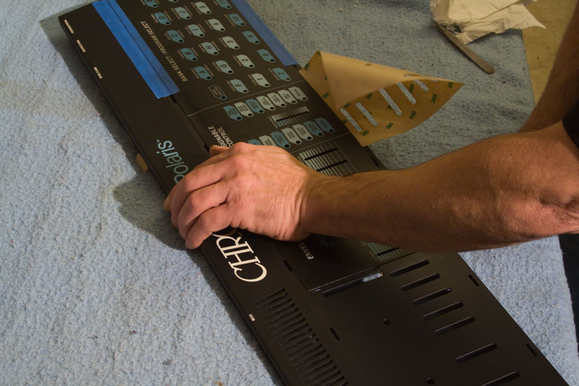
19. Replace the plastic molding strips
Here we show the short middle strip going in first, but it actually works better to put the two long ones in first.

20. Bring back the rest of the Polaris
You are now ready to put everything back together.
21. Install the right panel board
This one must be done first, because it has the connectors for the tails.
Plug the tails in carefully, ensuring that the silver stripes line up with the connector contacts. If, due to manufacturing tolerances, the stripes are too close to one side or the other of the tail, it may be necessary to trim a tiny bit of the clear Mylar from the other side, in order to get the stripes to line up. Small diagonal cutters are good for this. In our case, it wasn’t necessary.


Note how the tails from the left membrane panel must be bent under the right panel board in a sharp S-curve.

22. Install the left panel board
Don’t forget to install the plastic clips that hold the wire bundles.

Also, reconnect the green ground wire.
23. Test the instrument
Carefully lay the panel back in place, taking care not to scratch the end blocks, and not to pinch any cables between the panel and the base. At this point, it is probably wise to test everything. Connect a power cord, turn the unit on, and make sure all the switches now work.
If a number of switches don’t work properly, the most likely cause is a misalignment between the silver stripes on the tails and the connector contacts.
24. Button the unit up
Insert the screws along the back edge. Tip the unit up and tighten the large panel hold-down bolts. Push the knobs back onto the sliders.
You’re all done. Enjoy your “new” Polaris. ![]()